In the fast-paced world we live in, our homes are filled with an array of indispensable appliances that make daily life more convenient. However, as Murphy’s Law would have it, these appliances tend to malfunction just when we need them the most. Before you rush to replace that faulty device, consider channeling your inner DIY enthusiast with our comprehensive guide to home appliance resuscitation. With a bit of patience, a dash of ingenuity, and the right tools, you might just save yourself a trip to the store and some hard-earned cash تعمیرات پکیج بوتان در تهران.
- Diagnose the Ailment: Before diving into the world of appliance repair, it’s essential to identify the root cause of the problem. Is your refrigerator not cooling properly, or is your washing machine making strange noises? Research the symptoms and potential causes to get a better understanding of what might be going wrong.
- Gather the Right Tools: Arm yourself with the appropriate tools for the task at hand. Basic tools such as screwdrivers, pliers, and a multimeter can go a long way in troubleshooting and fixing common issues. Ensure you have the user manual for your appliance, as it often contains valuable information about troubleshooting and maintenance.
- Safety First: Always prioritize safety when working with home appliances. Disconnect the power source before attempting any repairs. If you’re dealing with gas appliances, turn off the gas supply as well. Additionally, wear protective gear, such as gloves and safety glasses, to avoid accidents.
- Common Repairs for Major Appliances:
- Refrigerator:
- Check the condenser coils for dust and debris.
- Inspect the door seals for gaps or damage.
- Replace the thermostat or defrost timer if necessary.
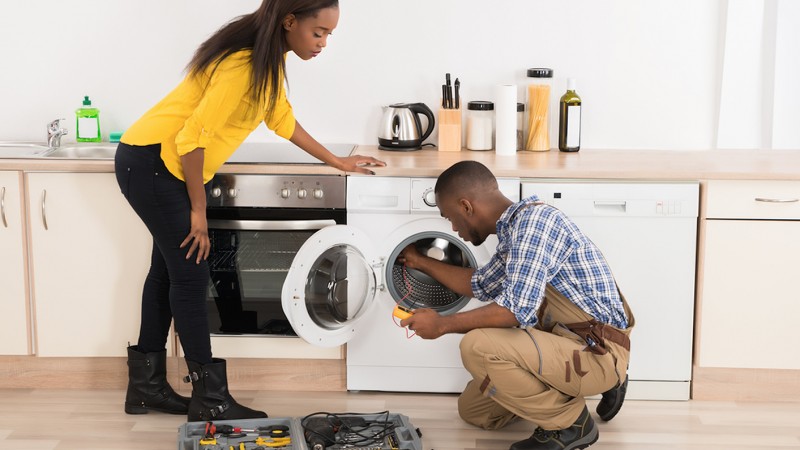
- Washing Machine:
- Inspect the hoses for leaks or blockages.
- Clean the lint filter and drainage pump.
- Replace worn-out belts or damaged agitators.
- Oven/Range:
- Test and replace faulty heating elements.
- Inspect and clean the igniter.
- Check for issues with the temperature sensor.
- Dishwasher:
- Clean the spray arms and filter.
- Inspect the door gasket for leaks.
- Test and replace the float switch if needed.
- Refrigerator:
- Small Appliance Repairs:
- Microwave:
- Check the door switch and latch.
- Test and replace the magnetron.
- Inspect the turntable motor for issues.
- Toaster or Blender:
- Replace worn-out cords or plugs.
- Clean and lubricate moving parts.
- Test and replace faulty switches.
- Microwave:
- Online Resources and Communities: Take advantage of the wealth of information available online. Numerous websites, forums, and video tutorials provide step-by-step guides for appliance repairs. Engaging with DIY communities can also provide valuable insights and solutions to common problems.
- Know When to Call a Professional: While DIY repairs can save you money, it’s crucial to recognize your limitations. Some issues may require the expertise of a professional technician, especially if the appliance is under warranty. If your attempts to resuscitate the appliance are unsuccessful or if the repair involves complex electrical or gas components, it’s best to seek professional help.
Conclusion:
Becoming a DIYer in the realm of home appliance repair can be both rewarding and cost-effective. With the right knowledge, tools, and a bit of patience, you can extend the lifespan of your appliances and keep your household running smoothly. Remember to prioritize safety, stay informed, and don’t hesitate to seek professional assistance when needed.